
Step 1: Make a regular cake. We made a boxed cake, but a homeade one would work too.

Step 2: Let the cake cool completely, then crumble it up in a bowl and mix in a can of frosting (a little less than the whole can, actually)

Step 3: Roll the cake/frosting mix into balls.

Step 4: Melt some candy chips (We used Wilton Candy Melts in vanilla flavor). Then, take lollipop sticks (found in a craft store in the Wilton/Cake making aisle) and dip them into the melted candy coating. Then, put the sticks into the cake balls. The melted candy serves as an adhesive.

Step 5: Melt a bunch of other colors of the candy melts while your cake pops sit in the freezer for about then minutes to set up.

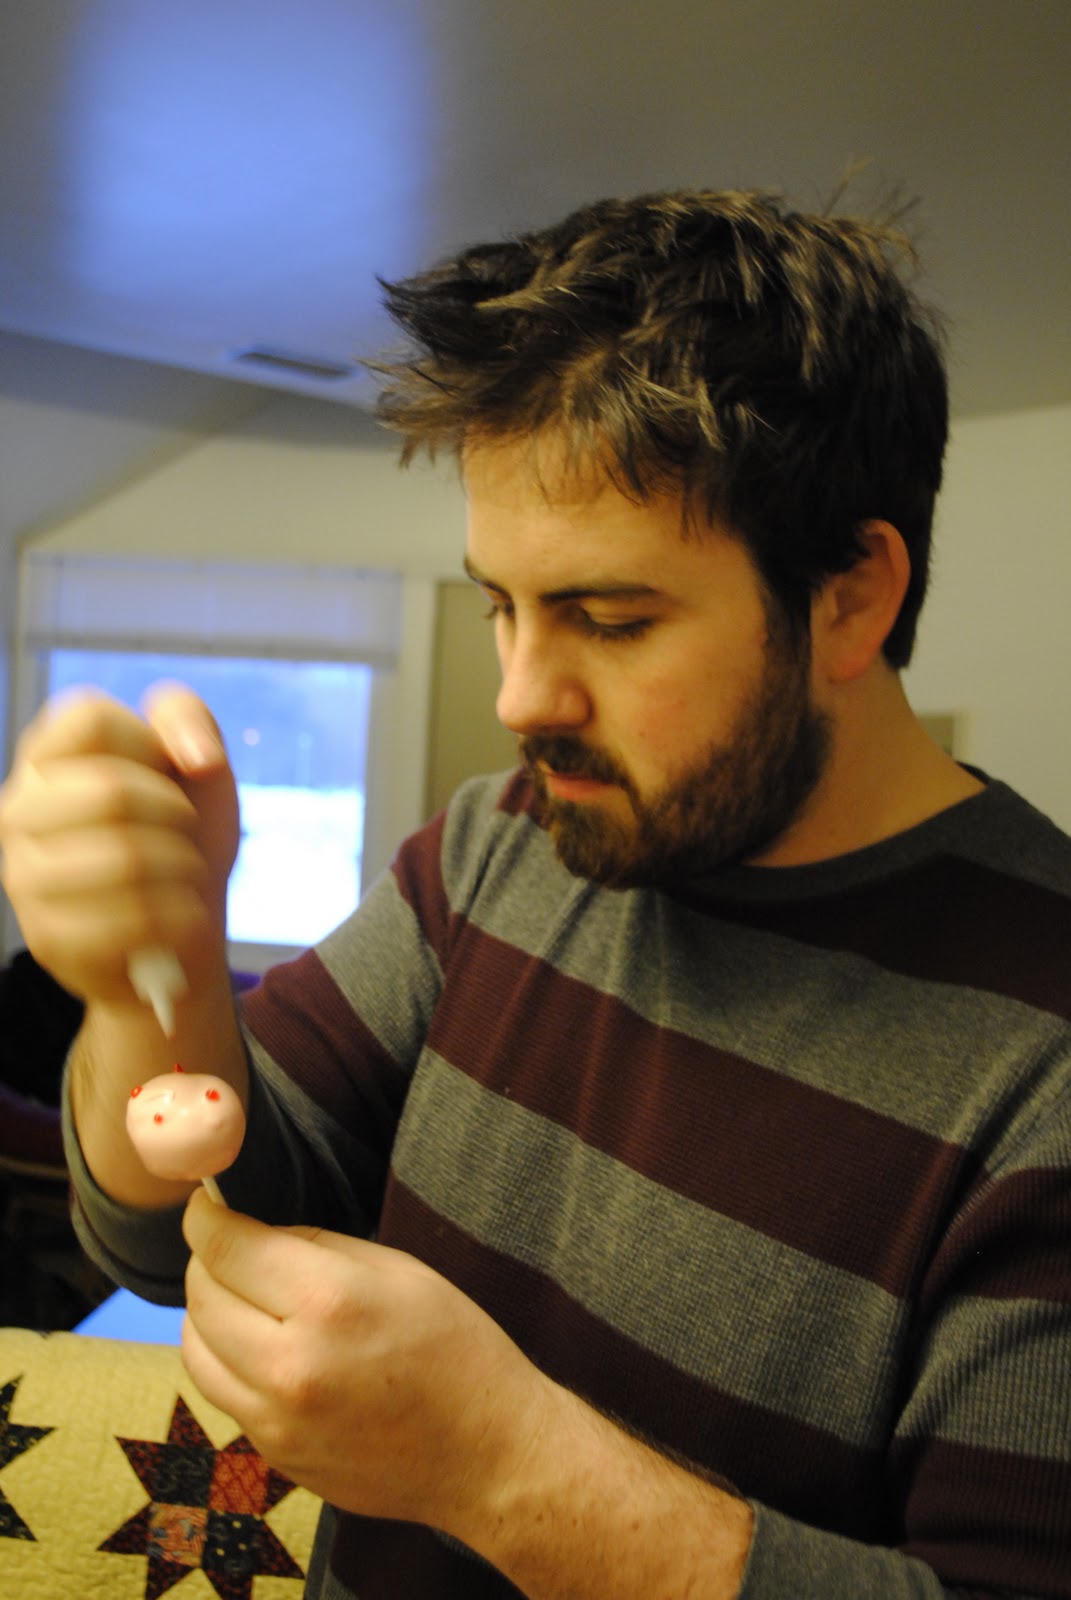
Step 6: Take the pops out of the freezer and cover them in the candy coating and decorate accordingly! They set up instantly so you have to decorate quickly.
Helpful hint: DO NOT put food coloring in the candy melts. It just hardens/ruins it.
Another helpful hint: Jeff and I bought flower arrangement foam blocks and covered them in fabric. We then poked holes into the blocks as the cake pops were done. Foam blocks are a great way to hold/display the pops when they are finished.

We got a little tired of decorating them after awhile because we had a lot of cake pops to decorate...

So then Kelsey and I got into a frosting fight.

But then we got back on track and finished decorating them all.

The final product turned out cute and delicious!

Hope you all had a wonderful Valentines Day!
E

woah! you posted!
ReplyDeleteThese were so yummy! I shared with coworkers at CHS and they liked them too...
ReplyDelete